
")

Lighting and background are probably two of the most important things to consider in photography. That’s why I’m sharing tips for how to find good lighting for pictures and background because you might have the cutest subject ever but if your lighting is poor and your background is distracting then your photo won’t do your subject justice at all. Now presets can help a little bit with lighting but I wouldn’t rely too heavily on them. If you have to raise the saturation too much, it can affect your photo. Luckily, it’s pretty easy to master lighting and background with just three key points to remember.
First and foremost, light over the background every time!
As I mentioned above, if you don’t find good lighting for pictures or have enough light, you won’t be able to get a nice photo no matter how amazing your background looks. So always check your light first. Find the light around your home, backyard, or front porch that you like. Snap a few practice shots and see if the light is harsh or softer. Check during different times of the day because it can change as the sun moves.
Become familiar with the type of light around your house and find good lighting for pictures. Know which locations have the best soft and harsh light. You need to know where to find the best light in your house before you can pick which kind you want.
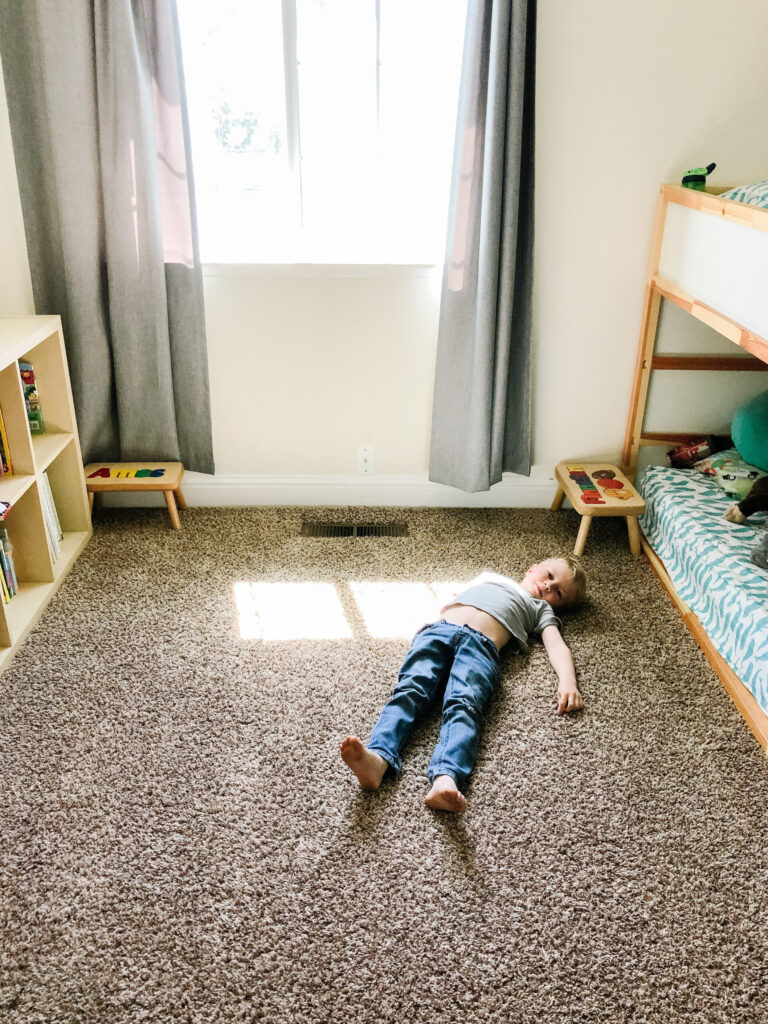
Pay attention to the light in your home.
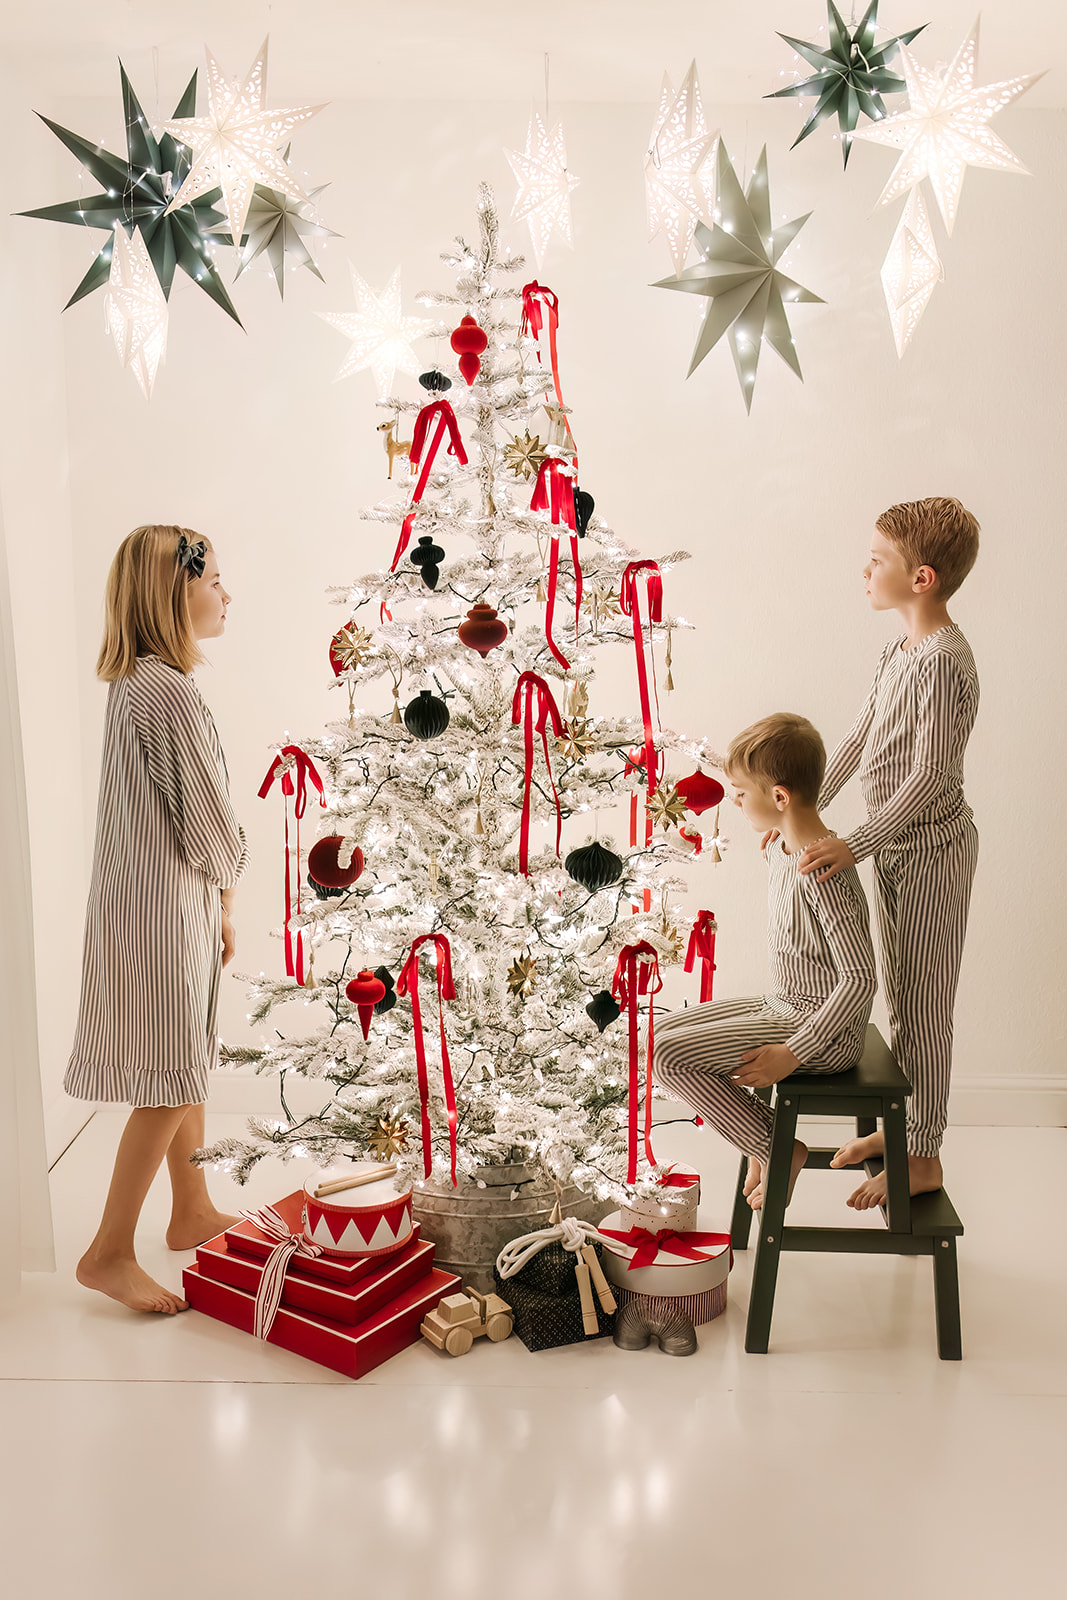
What kind of light do you want in the shot? Fun directional light? Or soft even light? Most homes have soft even light around noon because at that time the windows aren’t getting anything direct and your roof is diffusing the harsh sunlight that’s coming straight down. At the same time, I like to play with rainbow prisms in our home which require direct light shooting through them. Both lights can make for beautiful photos.
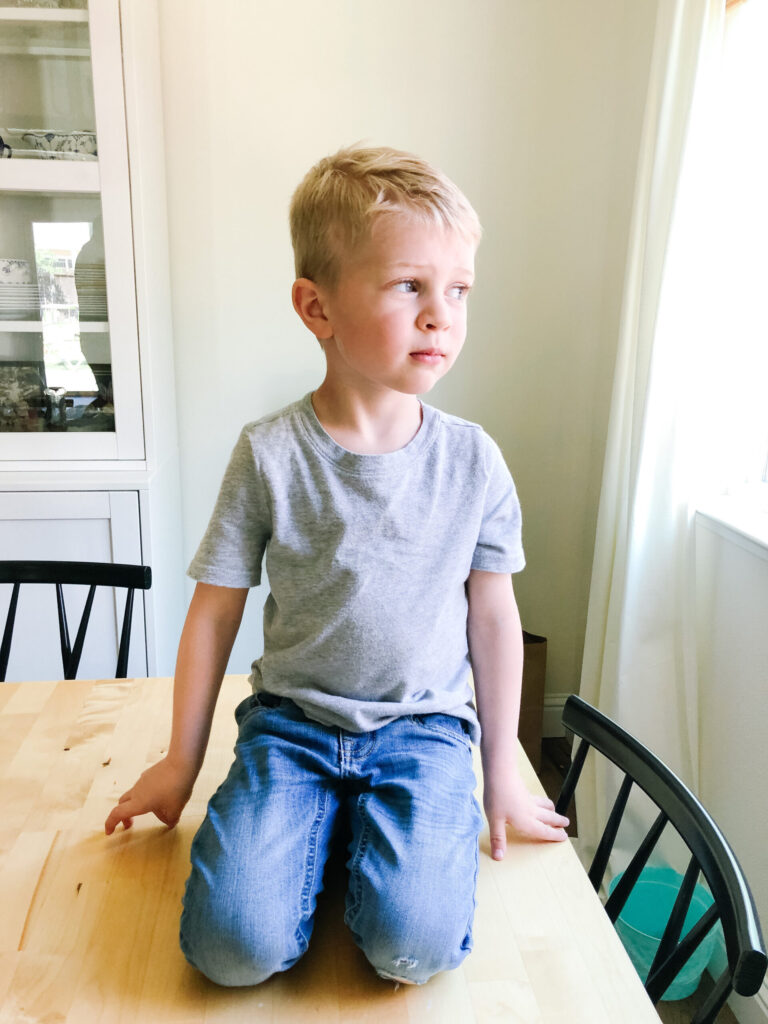
Now normally, I stay pretty close to windows when I take pictures because I love the natural light coming in and I find good lighting for pictures there the most. I recommend starting with window light as you figure out the light you want for your photos unless you just have a very bright home with lots of windows and natural light flooding in. Once you find the spot where you like your light, whether it’s soft or direct, then it’s time to make a neutral background.
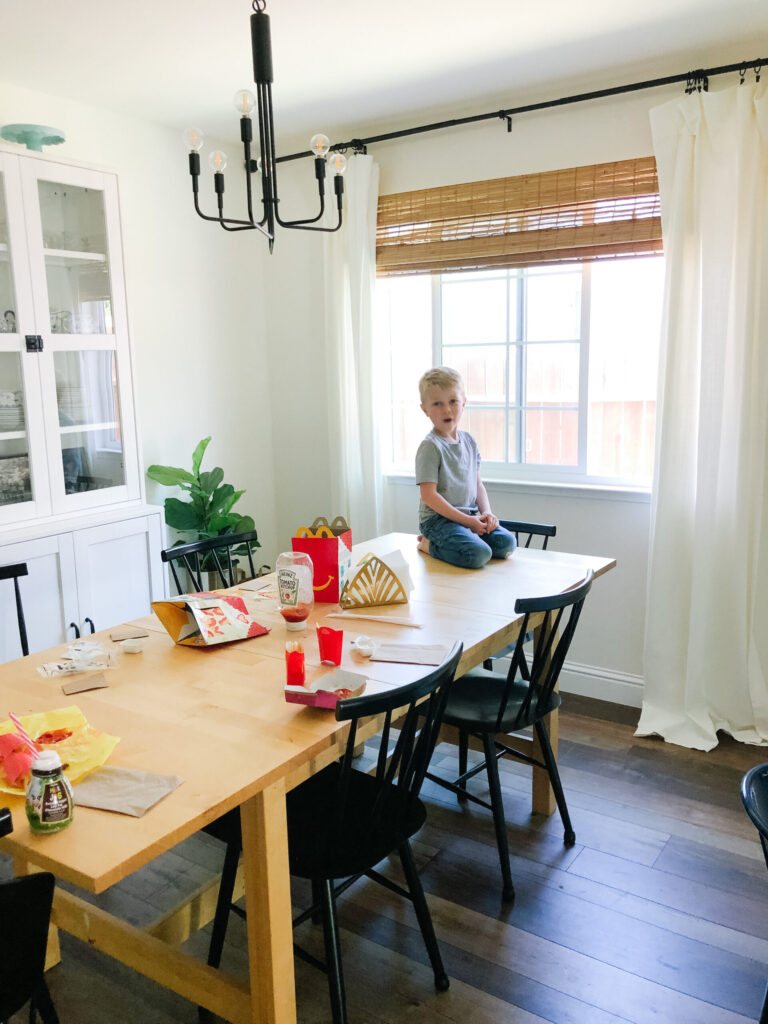
Uncluttered backgrounds are best.
That doesn’t mean you need to have a blank wall, it just means you need clean and preferably farther away objects. When you have someone right next to a wall, that’s a very clean basic look. But you can capture the same idea if you pull them away from the background and use portrait mode or a low aperture. This gives your photo a blurred background so that it won’t matter quite as much what’s behind your subject.
At the end of the day, the most important thing to remember is to experiment with your light and background because so many of those things are your personal preferences. Do you love the bright direct light? Or do you love the glowy soft light? Find the light you love and then pick your background. Do you love the blank wall? Or do you like a more lifestyle take? Don’t be afraid to try them both and see which turns out to be your favorite. Check out my blog for other photography tips and tricks!


")
")


