
")
Documenting all the little and big steps in your kids’ lives is one of the best parts of being a parent, so I’m sharing tips for taking photos. (I have a camera roll that proves my point and I’m sure you do too.) But sometimes it feels like pictures fall short and don’t quite capture everything in the moment. As a photographer, I work hard to capture all those magic moments. And the thing is you can too! There are a couple of tips for taking photos you can do to improve your mom-tographer game. They’re easy and helpful and I promise you will see a big difference in how your photos turn out.
Tips for Taking Photos
1. Follow the rule of thirds
If you are taking photos on an iPhone, turn on your camera grid to help you line up the subject of your photo. You can turn the grid on by going to Settings > Photos & Camera > enable the Grid switch. When you do this, a grid will show up when you are taking pictures and will help you create an aesthetic balance in your photos.
2. Utilize natural light
As convenient as the flash might be, it can sometimes give weird hues to your photos. Use natural light as much as possible when you’re taking pictures. If you’re inside, make sure your windows are open and you are taking advantage of all that good natural light. If you are taking photos at night, take the photo without the flash and use the Photos App exposure edit to add more light to the photo.
3. Lock focus on your camera
When you’re taking a photo with your iPhone, position your subject where you want it and then press down on the screen over your subject. This will turn on your AE/AF Lock. AE means auto exposure which can adjust brightness before you take the photo. AF means autofocus which adjusts the sharpness of the photo. Putting the lock on sets your adjustments so you don’t have to edit later.
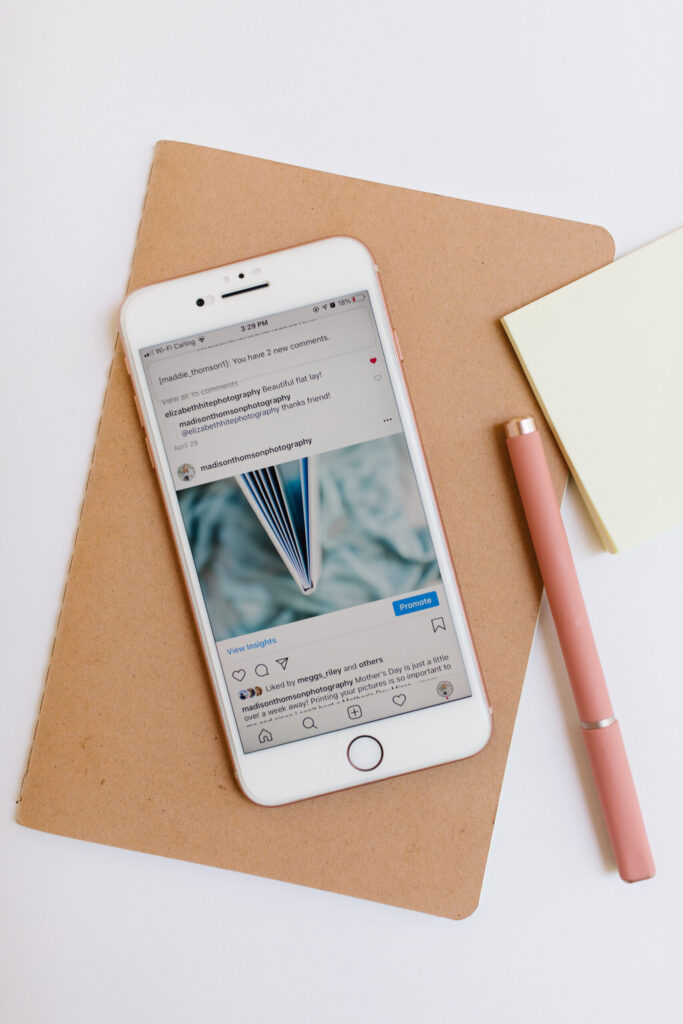
4. Use the free Lightroom app to edit
Once you’ve taken your photos, I recommend editing them in Lightroom. It’s a free app and can make a huge difference in how your photos turn out. You can make your own presets, purchase them from someone or you can download my two presets for free! If you use mine, tag me in your photos I would love to see your pictures! And here’s a little tutorial to get you started!
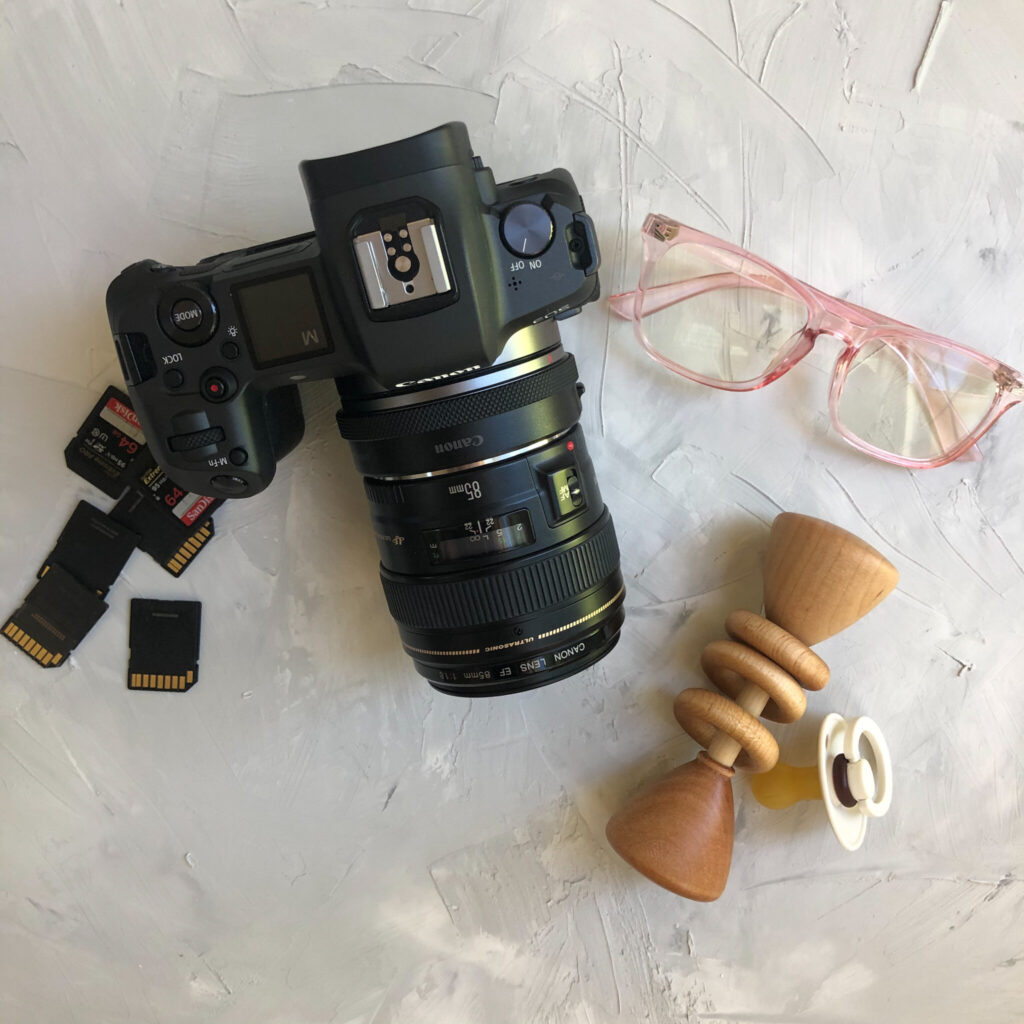
5. Intro gear for a newbie photographer
If you want to expand your photography skills and purchase a camera, stick with something simple. I recommend a Canon starter camera like this one I linked. Your camera will come with a lens but I would buy a “nifty fifty” lens, which is a 50mm 1.8 lens. It’s about $125 and definitely worth the money. Your photos are going to turn out cleaner and you’ll take better photos overall. When you get your camera I recommend shooting in AV mode first. You have more control over your shots and it’s a great way to learn. From there you can level up as you get more comfortable and familiar with your camera.
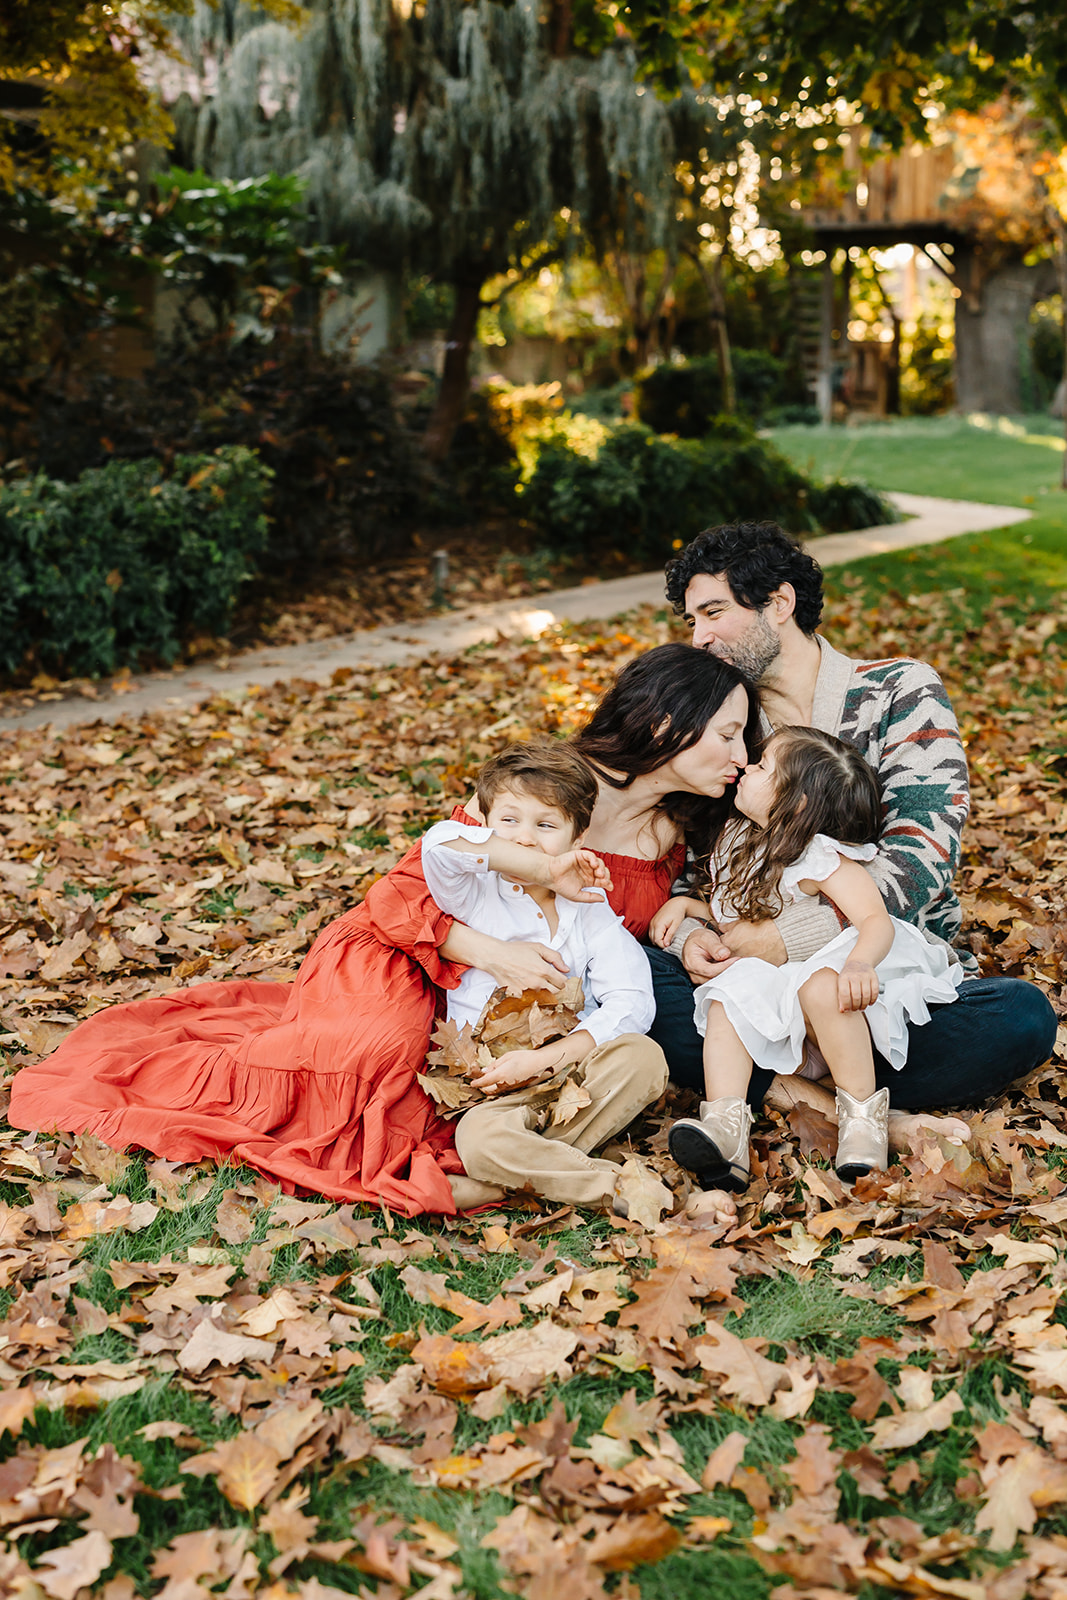
These are really simple and easy tips for taking photos to up your game and take photos that capture the magic of raising your sweet kiddos. And make sure that you are jumping in the photo too every so often! Use that self-timer or selfie if you have to because it’ll be worth it. If you have any questions please ask them below and I would be happy to help!


")
")


